Monday, November 30, 2020

Covering, Left Wing and Fuel Tank Covers

I glued up the bottom fabric panel for the Left Wing today. I was getting low on glue and wasn't sure I'd have enough to get two coats on the panel. I did. It's ready to apply to the wing. The wing already has the glue on it. Doesn't seem like much but it takes several hours to get to this point.

I still had some glue left and decided to press on and glue the fabric panels for the fuel tank covers, both top and the optional bottoms. Again, I wasn't sure how far I'd get but kept going and got all four panels coated with two coats.


Then I moved on to the actual metal covers themselves. I started with the top fuel tank covers. I scuffed them, wiped them down and applied two coats of glue to each. I have the two bottom covers left to do. I'll be surprised if I have enough glue to do them but will give it a go in the morning.

BIG NEWS - The engine is supposed to arrive sometime tomorrow! WOO WOO!


Sunday, November 29, 2020

Covering, Right Wing - Bottom

I finished up with the covering on the right wing today. Got the final shrink on both top and bottom. Trimmed all edges and glued, wrapped and applied the finish tapes to the leading edge as well as the fabric rivets and their finishing tapes. 

Applying the glue to the leading edge.

 Leading edge done.

Wing tip done
Root edge done
Fabric rivets ready for installation
Fabric rivets installed and finish tapes applied to bottom of wing.
Fabric rivets installed and finish tapes applied to top of wing.
Laying out the inspection rings. I haven't decided if I want to paint the rings black or leave them clear? I've painted one and will decide soon and then will install them. I have to install and cutout several of them in order to have access to the OAT probe and the flood light connectors.


Saturday, November 28, 2020

Covering, Right Wing - Bottom

I started covering the bottom of the right wing today. Got pretty far, looks pretty good.

Laying the fabric out.

Initial tack

Detail work
Strut attachment, flood lights and OAT (Outside Air Temp) probe trim work
Initial Shrink


Friday, November 27, 2020

Visiting Terry's Kitfox Progress

Today, Paul came over and picked me up to head down to visit with Terry and his Kitfox project. Terry has made great progress and is nearing completion. He has completed the engine installation and is finalizing his panel. Once he confirms the panel has be cutout correctly, he'll send it out for paint. Looks great Terry! Sorry, I didn't get a pic of the whole plane... next time.


Wednesday, November 25, 2020

Covering, Right WIng - Final Prep for Bottom Covering

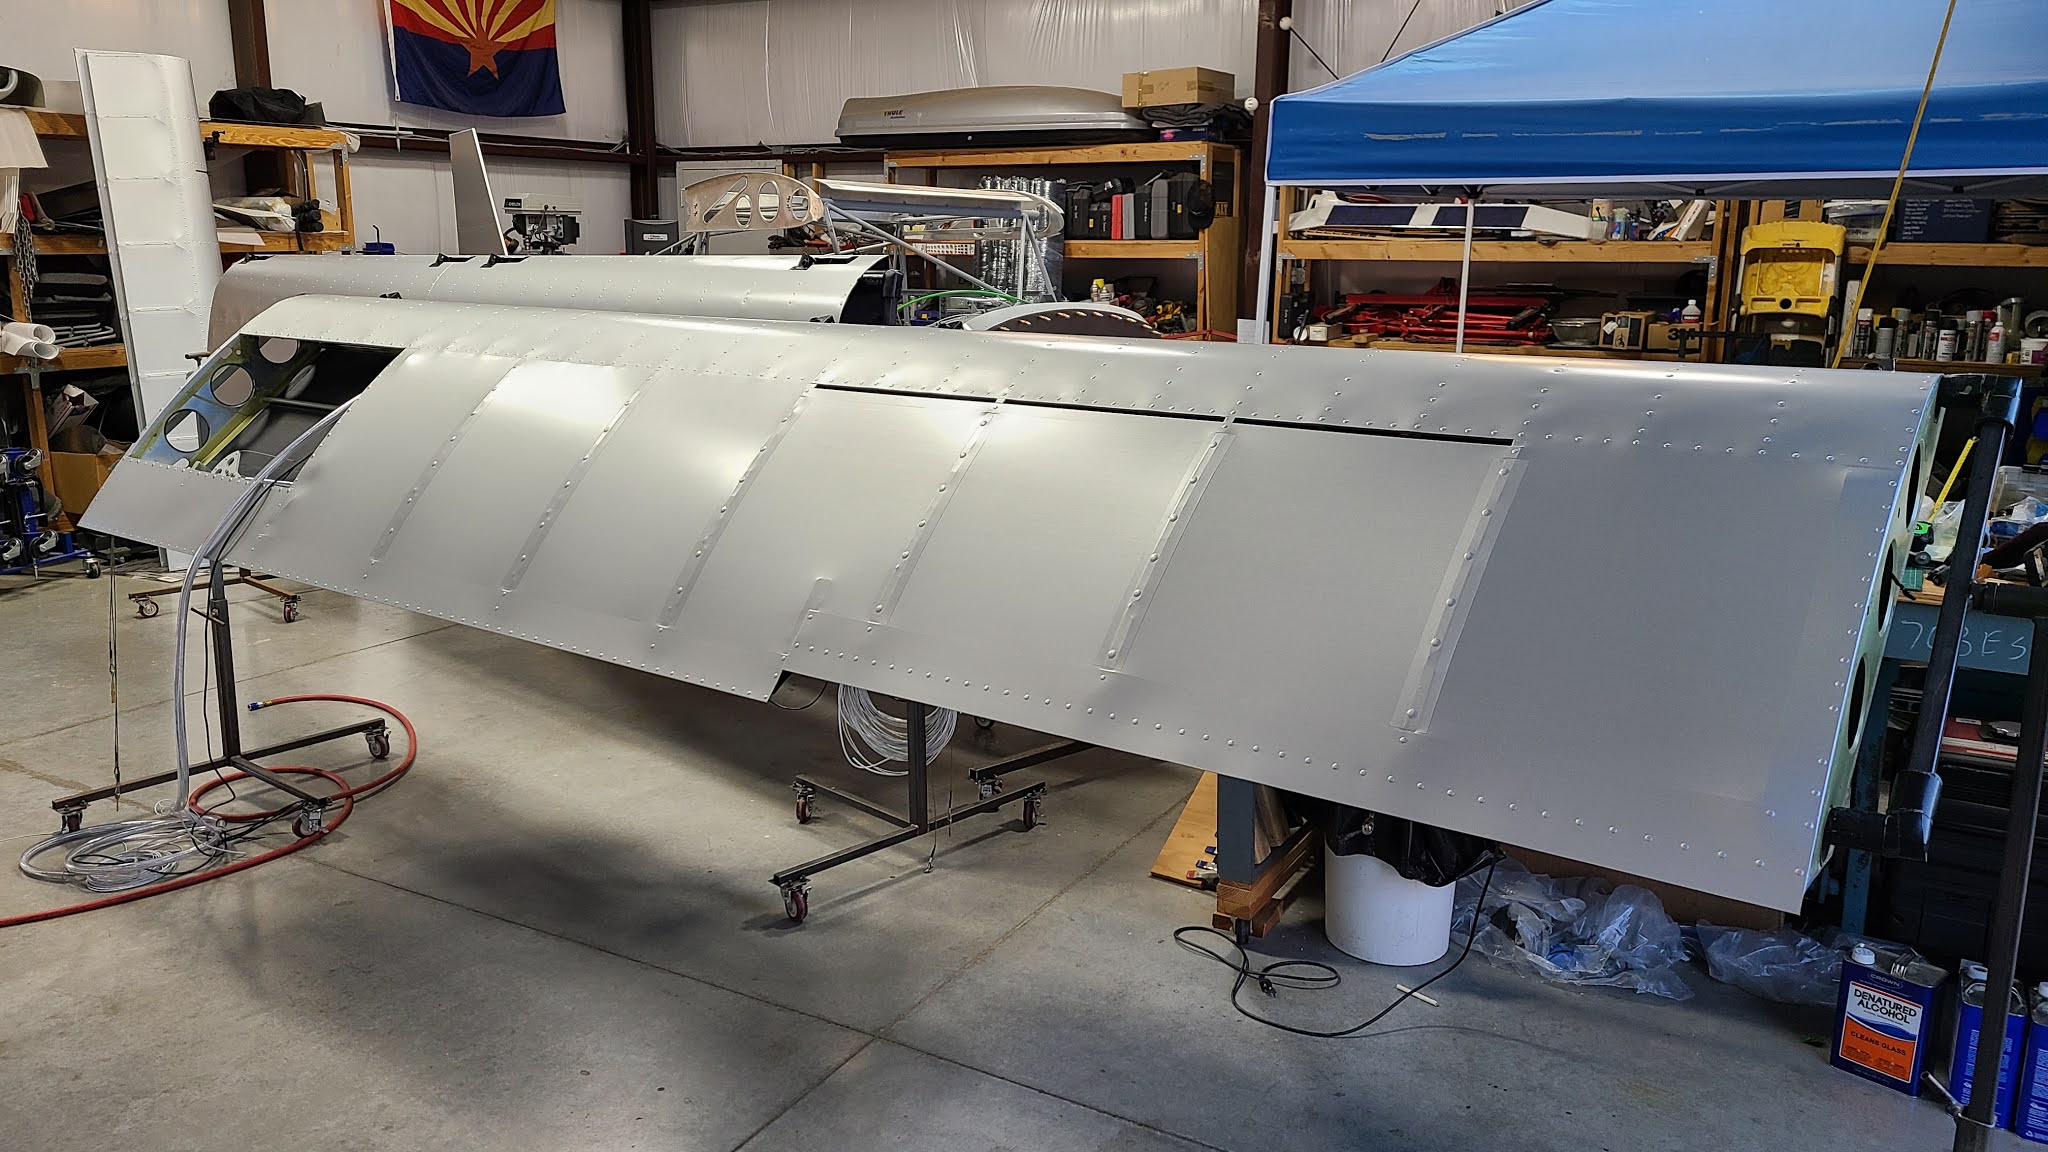
I had several things that needed to be done before I could cover the bottom of the wing, closing it in for good.

First, I needed to safety wire the flap turnbuckle. I researched the EAA for the recommended procedure for this and followed their guidance. Just Aircraft installed zip ties and holders to keep the turnbuckle from turning so I had to remove them beforehand. Then I installed the safety wire. The safety wire assures that the turnbuckle will not change position thus altering the adjustment in this case of the flaps. All flight control turnbuckles will be safety wires like this.


Second, I needed to secure the position light wire. It was dangling and I didn't want to leave it flopping around potentially interfering with the aileron pushrod. I slipped a protective piece of clear tubing around it where is passes through a rib hole and fastened it with Rescue Tape on both ends. Rescue Tape adheres to itself and is really stretchy so you can get a nice tight wrap that bonds to itself making a secure waterproof seal. I laced the wire to the servo wire bundle and then drilled a small hole in a rib to provide another location for lacing. I used a small piece of the Rescue Tape on the rib to provide a cushion for the wire. Now it is firmly in place and will not make contact with any structure or control hardware. Once it is connected to the wing tip navigation light it will be secure.


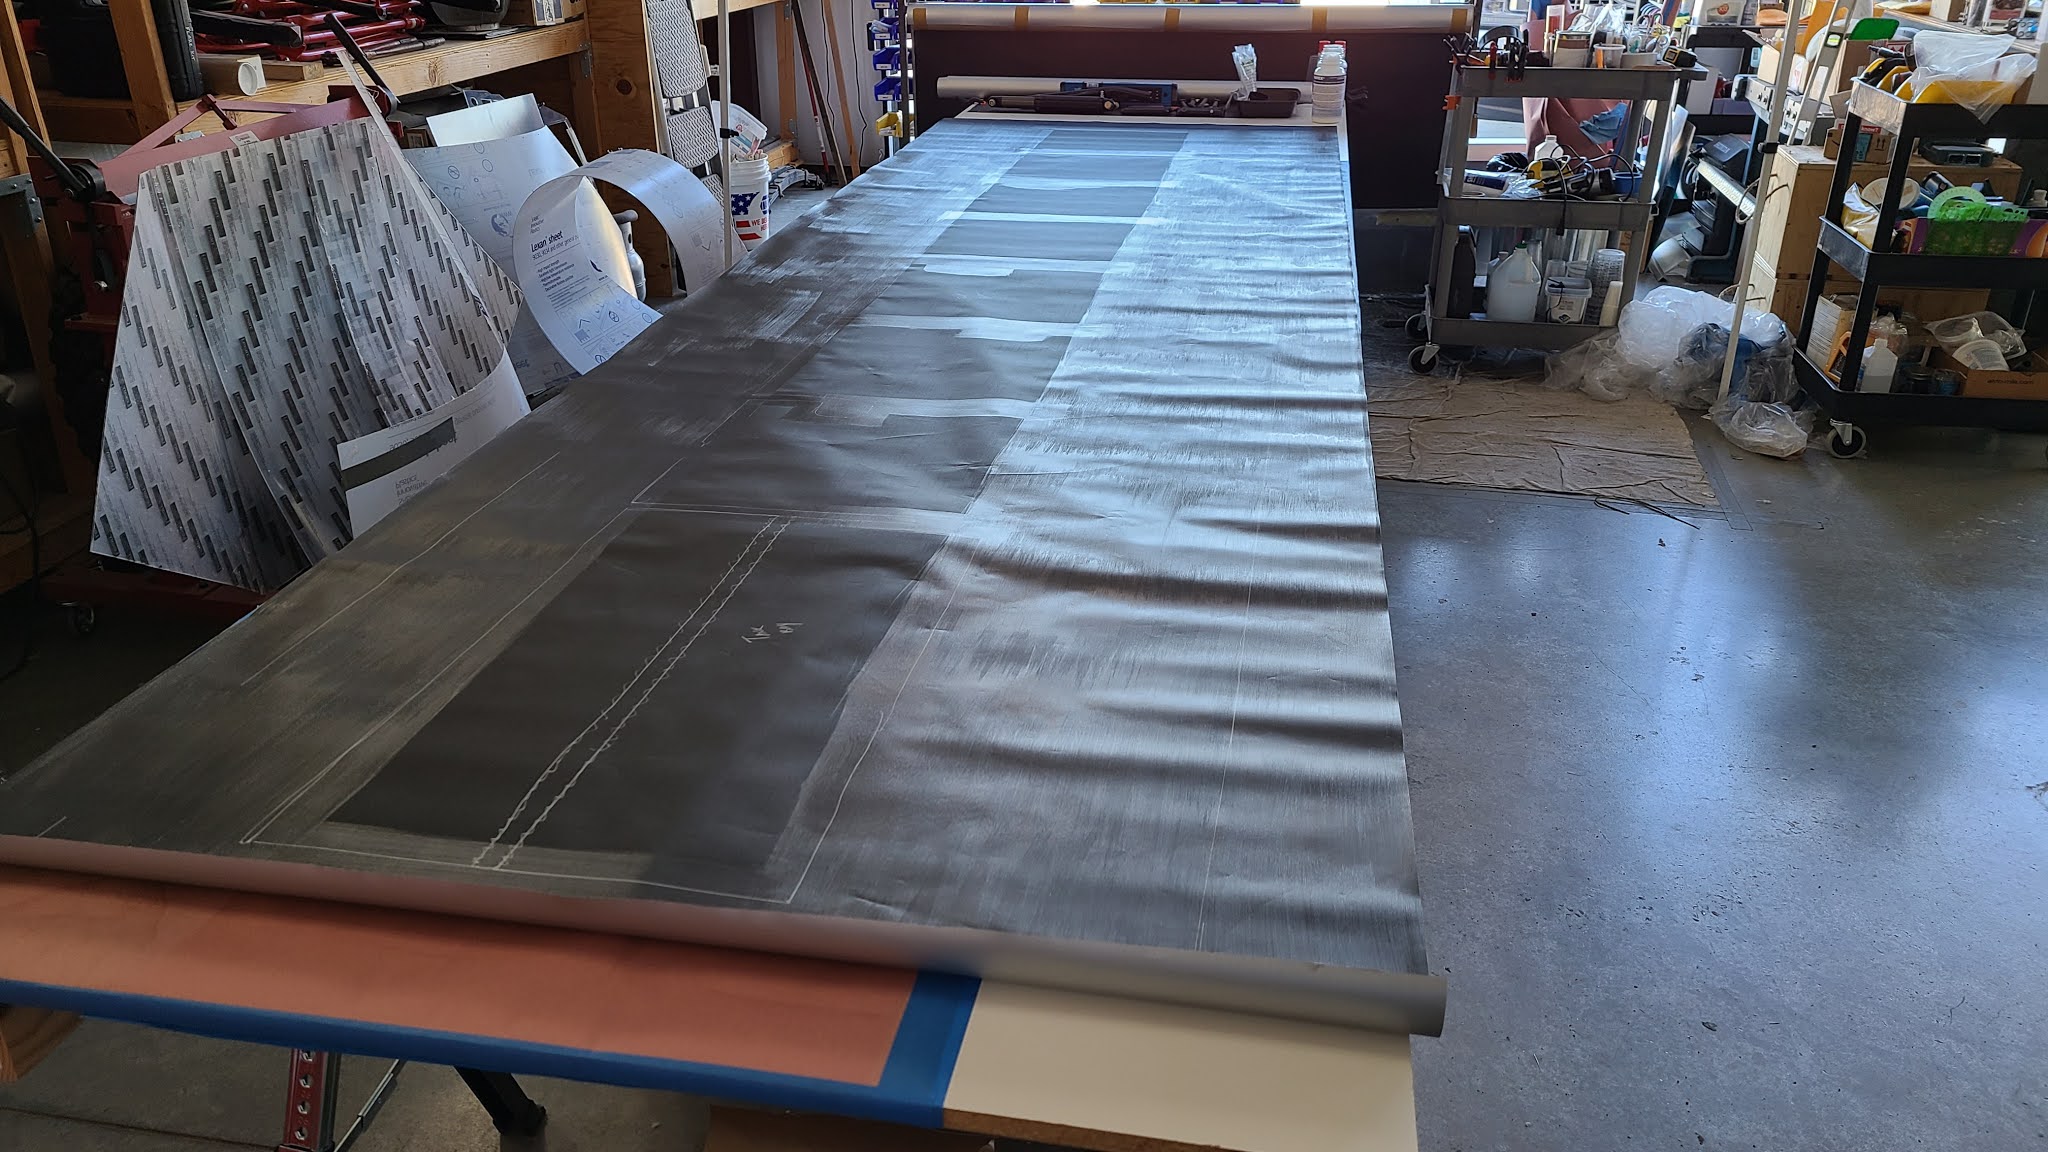
Third, I needed to put two coats of glue on the bottom of each wing as well as on the two bottom fabric pieces.


Fourth, I needed to final inspect the entire wing to be sure everything was as it should be. I had to inspect all fittings, cables and attachments, nuts and bolts to insure their security. I also needed to make sure there was no debris, parts or anything loose left in the wing. I double checked the spoilers. I made a video of the entire wing so I would have record of the state of the wing just before covering and to show me what was where in the wing after covering.


Fifth, I needed to paint the cove between the aileron and flap transition on the trailing edge of the wing. I thought this would look better painted satin black rather than attempting to attach a piece of fabric.

I'll repeat all for the Left Wing.


Tuesday, November 24, 2020

Transponder Antenna

I installed the transponder mono-pole antenna today. I made a ground plane to mount it to and drilled the hole and prepped it for powder coat. Back from powder coat, I coated the top side with John's 360 Avenger ceramic coating and scuffed the bottom for glue. I marked out where I wanted it to go and glued the fabric. Heated up the iron and installed it. Trimmed the previously drilled hole and installed the antenna.


Monday, November 23, 2020

Covering, Spoiler Bays and Ceramic Coating

I started the day ceramic coating a lot of small and some not so small parts. I had to coat the spoilers before installing them. While I was at it I coated the slat arms, aileron/flap push rods, tail wheel gear leg, main gear legs, main struts, jury struts, wing tips, horizontal stabilizer fences, inside of the fuel tank covers, and the tail wheel shock.

I used John's 360 Coatings "Avenger" system. John's 360 Coatings

I covered the spoiler bays today. Not a big deal but needed to be done before I could mount the spoilers and the spoilers have to be mounted before I can cover the bottom of the wing.

I cut the 2" tapes to length for each bay (6 in all). Applied a coat of glue to each bay to help with adhesion.Then applied the tapes.

Finished the second one and you can see the third one ready to go...

Once all the bays were covered, I set about installing the spoilers. I changed out the hardware to stainless for corrosion resistance since these are open to the atmosphere. The spoilers were powder coated Red.

Right wing

Right wing
Right wing
Right wing
Left wing
Left wing
Left wing