
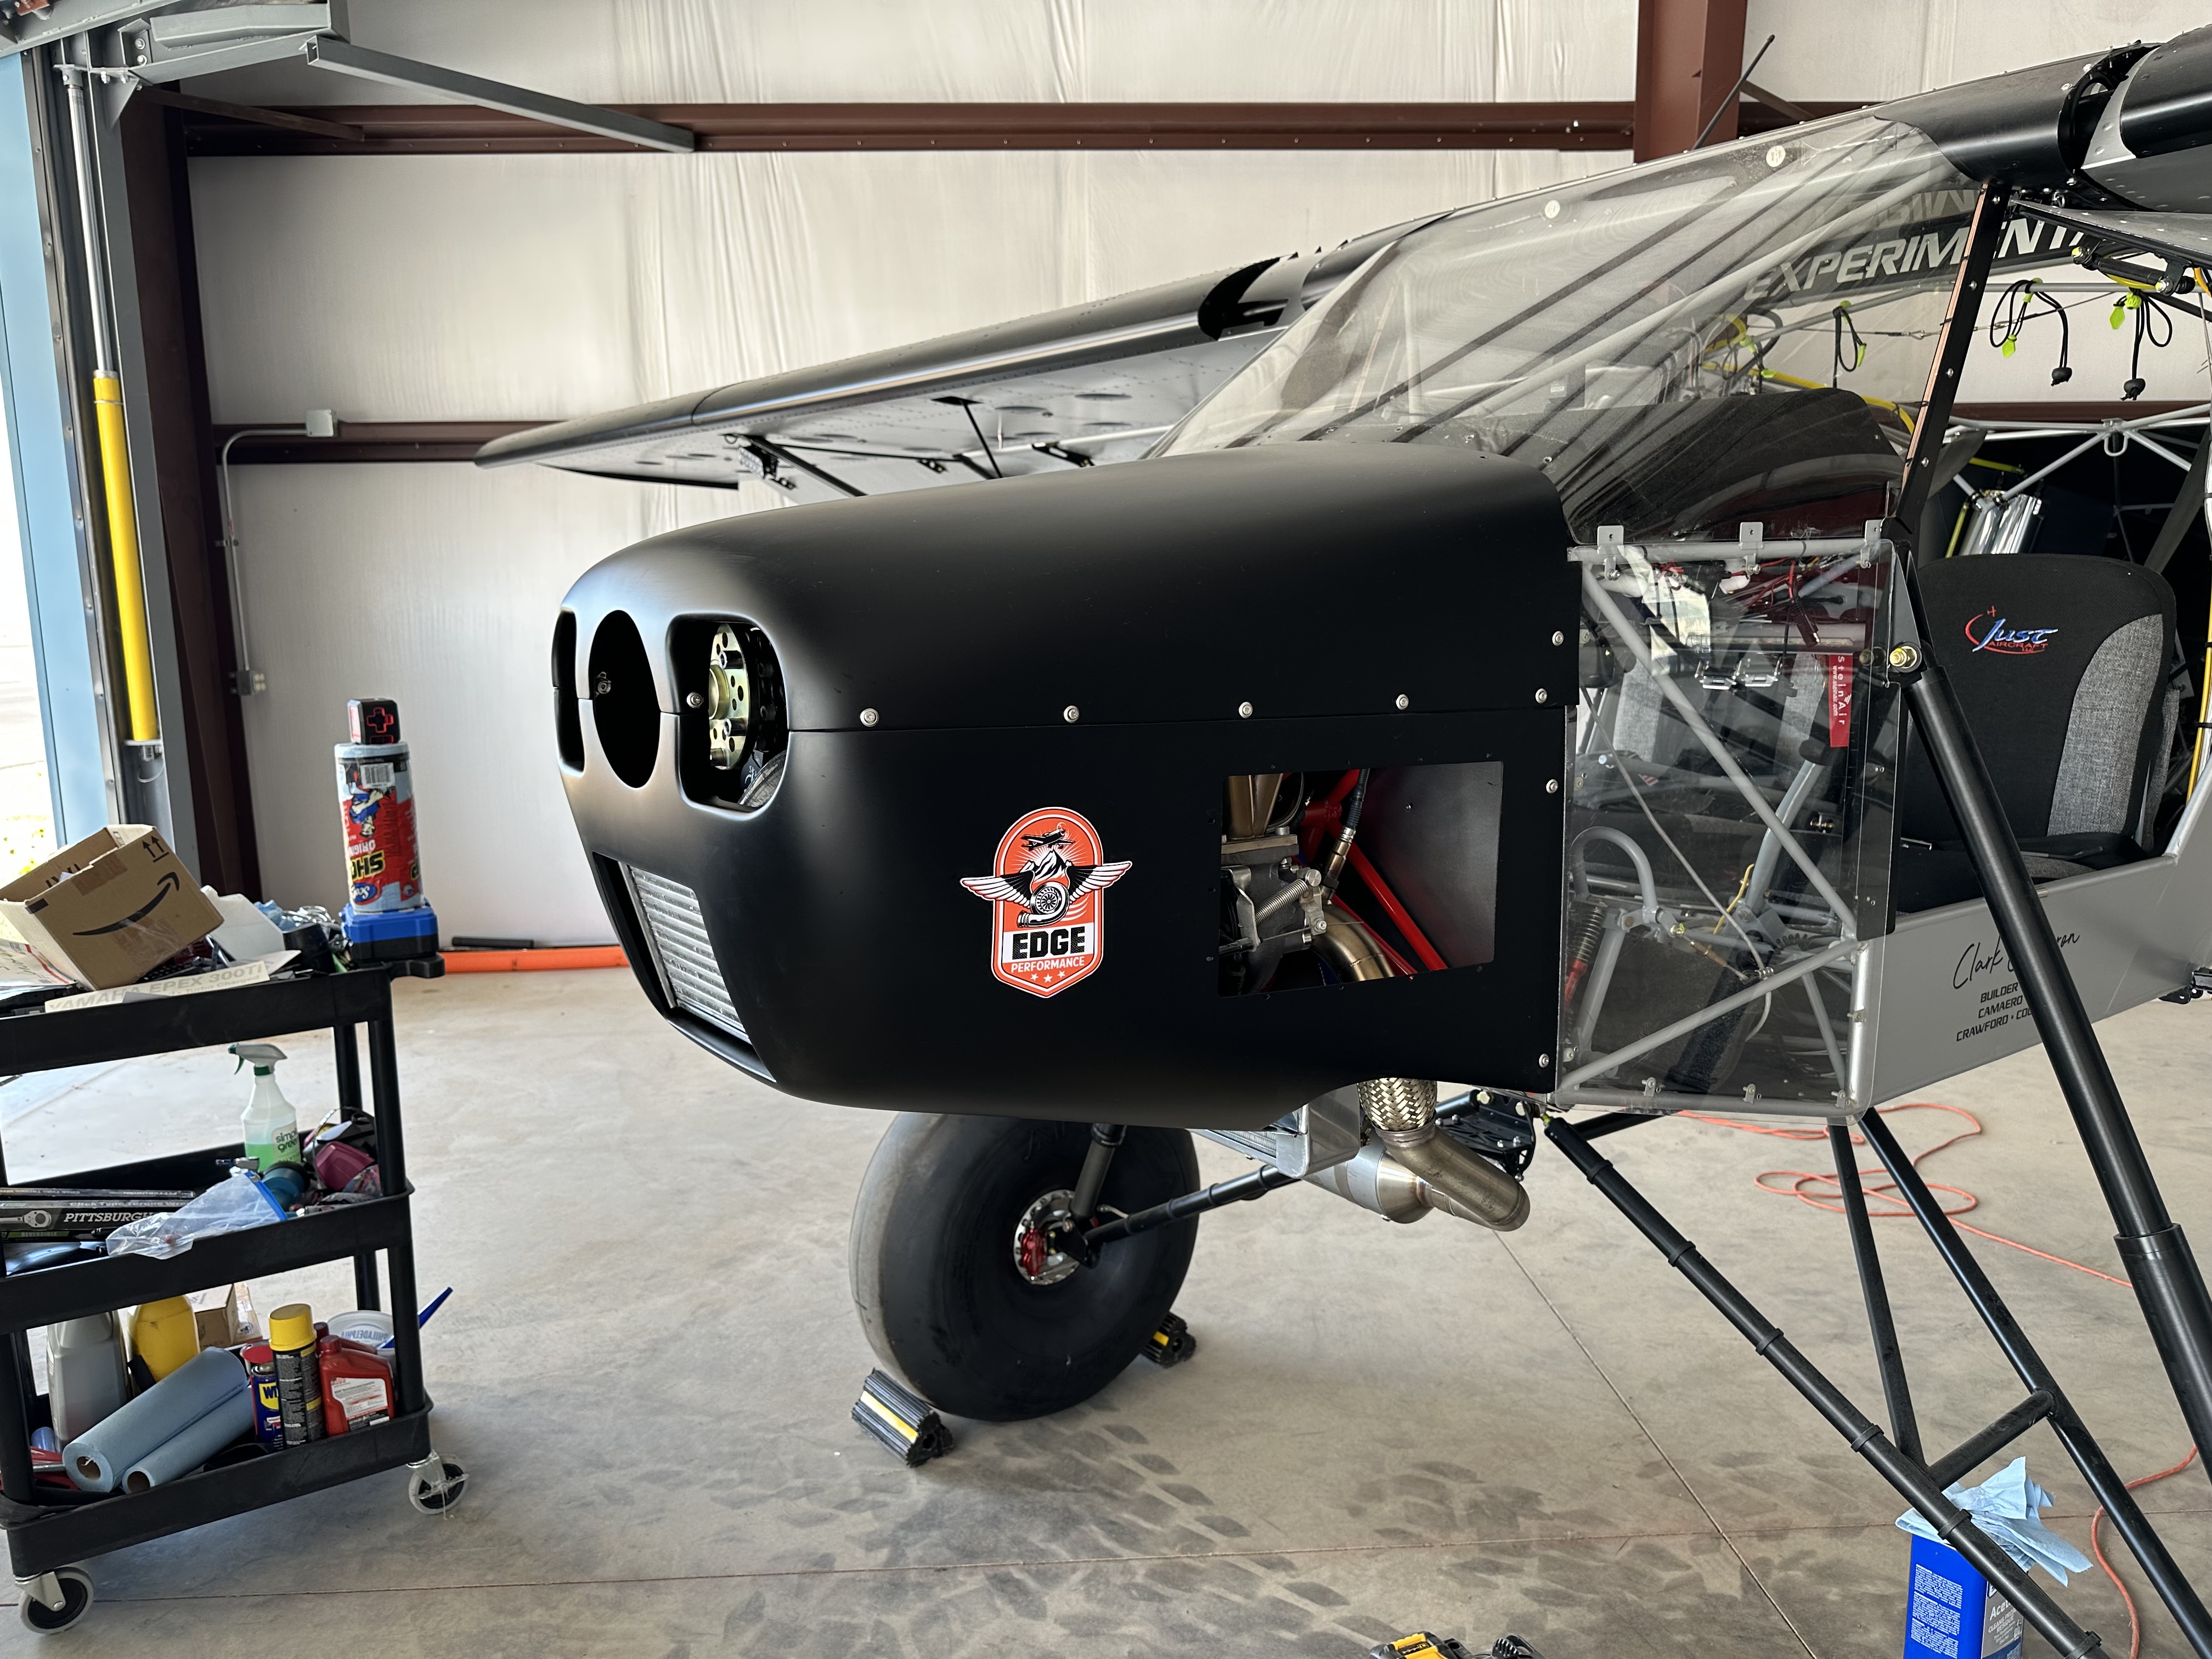
Well, when I fitted the cowling to the plane last time I realized that several of the 1/4 turn fasteners along the boot cowl/top cowl were hitting the firewall. I fiddled with the boot cowl until I was able to get it to fit. However, it was causing some warp-age and stress. As much as I want to finish this airplane, after thinking about it overnight I decided to re-position all the offending fasteners. Even though this means re-drilling new holes in both the boot cowl and the top cowl, fiber glassing/filling in the old holes, as well as repainting both pieces. The satin black paint does not allow for blending, sanding, buffing, so I'll have to totally repaint both pieces. Truly, a major setback. I'm not totally sure what happened, but obviously I did not lay out the holes properly the first time.
So, Option 1 is to fill all the offending holes with fiber glass, let that cure, then re-drill new holes which would overlap the old holes. This could create structrual issues if the fiberglass isn't done correctly and would potentially thicken both pieces.
Option 2 - I happened to have an extra 1/4 turn fastener laying around. I could add this to the five that I had and re-space them out in order to put all of the fasteners in virgin fiberglass. Then filling all the other holes becomes just a cosmetic issue. This also adds another fastener vs. what I had before.
I chose option 2. When laying out the new spacing I ran into an issue because there is a cutout on the boot cowl flange so I can reach a coolant cap. This made for an uneven, non-standard spacing. Secure nonetheless.


You can see the old holes that need to be filled. There are corresponding holes in the boot cowl that need to be filled as well. Of course, while drilling out the 1/4 turn barrels I managed to break one so I was unable to finish re-installing them all. Now waiting on replacements to show up.
This also allows me to continue on toward getting the plane inspected. Cosmetic issues won't prevent being issued a temporary airworthiness certificate. The plane won't be perfect for the inspection but I can paint it later. It'll fly fine the way it is.
After I got as far as I could with the cowl, I decided to install the prop. I had installed the prop spacer yesterday and installed the prop hub, propellers, and the spinner today. I left the bolts loose as I'll set the prop pitch another time.


