Well, after nearly 7 years of building, tweaking, refining, trouble shooting, tuning and testing, N45TW was ready to fly. On March 11, 2025 I taxied down to 24 at North Fork Valley airport (7V2). Once I reached the run up area I did my checks, announced my intentions and lined up for takeoff. I locked the tail wheel, set 20 degrees of flaps and applied power. Unfortunately, it did not go as planned. Upon applying power for takeoff, I did not realize I was dragging the left brake with my foot. By the time the tail came up, I could see that I was drifting to the left of a not very wide paved runway (60ft wide). As I corrected with right rudder, the left tire caught the edge of the runway and pivoted me off towards the perimeter fence. It was over within seconds.
Once the plane came to rest, I was hanging over the passenger seat looking at the ground outside the passenger door, as the right gear had collapsed and folded under the fuselage putting the right tire next to the left tire. I did an immediate self-check to make sure I was okay, I was. The engine was off but I could hear the fuel pump still running and smelled gas. I noticed the ELT did not go off, but my iPhone did. It was making a whoop whoop whoop sound saying I had been in a crash. It automatically dialed 911. I immediately slid my hand across all the switches, turning everything off and turned the key off, took my helmet off, grabbed the iPhone out of the dirt below me, accidentally hanging up on the 911 call. I unhooked my harness and quickly exited the aircraft.
Once outside, I was doing another self-check when the iPhone started ringing, it was the 911 operator calling me back. Not knowing what had happened, she assumed I had been in an auto accident. I told her I just crashed my airplane and where I was. That took her aback, a few seconds later she recovered and asked if I was okay and if I needed an ambulance. I told her I was fine, by myself, and that I was clear of the aircraft. She said that Fire and Sheriff deputies were on the way. She wanted to keep me on the line but I told her I needed to make some phone calls. She didn't want me to hang up, but again, I assured her I was okay and we ended the call. Obviously, I called my wife to let her know what happened, that I was fine and that I would be a little late coming home. I then called the airport manager/friend and let him know about the wreck. He said he would be right there, and he was in about 8 minutes. We waited about 20-25 minutes for everyone else to show up. Good thing I was okay, there was no fire and/or I was not trapped. Once the fire guys got there, they proceeded to plug the fuel leaks as best they could and cut the battery out. There were about 20 gallons of fuel onboard and probably 10 gallons leaked out before they plugged the hole. The major leak was from one of the sump fittings being knocked off, allowing a steady stream of fuel to leak out the bottom of the left header tank.
So, I ran through the perimeter fence striking an 8 inch wood post sticking out of the ground about 8ft. The tail struck this post just forward of the horizontal stab when the aircraft was sliding sideways. The tail was wrapped around the post breaking it off at the ground. The fence is not just a perimeter fence, it is mainly there to prevent deer and wildlife from accessing the runway. It is a wire mesh fence attached to metal T-posts with the stronger wood posts spaced every hundred feet or so. The SuperSTOL rolled right over the mesh laying it down. If I hadn't hit the wood post, the damage would have been substantially less. Bad luck. I ended up leaving the plane out in the field overnight hoping that nobody would come steal anything off it. Luckily, one of the volunteer fire guys owned a wrecker service. He has one of those flat bed trucks with a sliding deck. We agreed to meet the next morning. Mike (Airport Manager) met me in the morning and we took gas cans out and drained the rest of the fuel before the wrecker arrived. Once the wrecker got into position, he winched the plane up on the deck and moved it to the hangar where it sits today.
Of course, the NTSB and the FAA were quick to call. As a matter of fact, they conferenced called me as I was driving home from the crash. I pulled over and answered some preliminary questions about what happened. They wanted a written statement from me, emailed me a form to fill out and said they'd be following up in the next day or so. All in all it took about ten days to get through the process with both of them. In the end, neither had to come look at the plane in person, I sent them pics. Afterward, they returned control of the aircraft back to me so I could do whatever I need to do. I'm glad to have all that behind me.
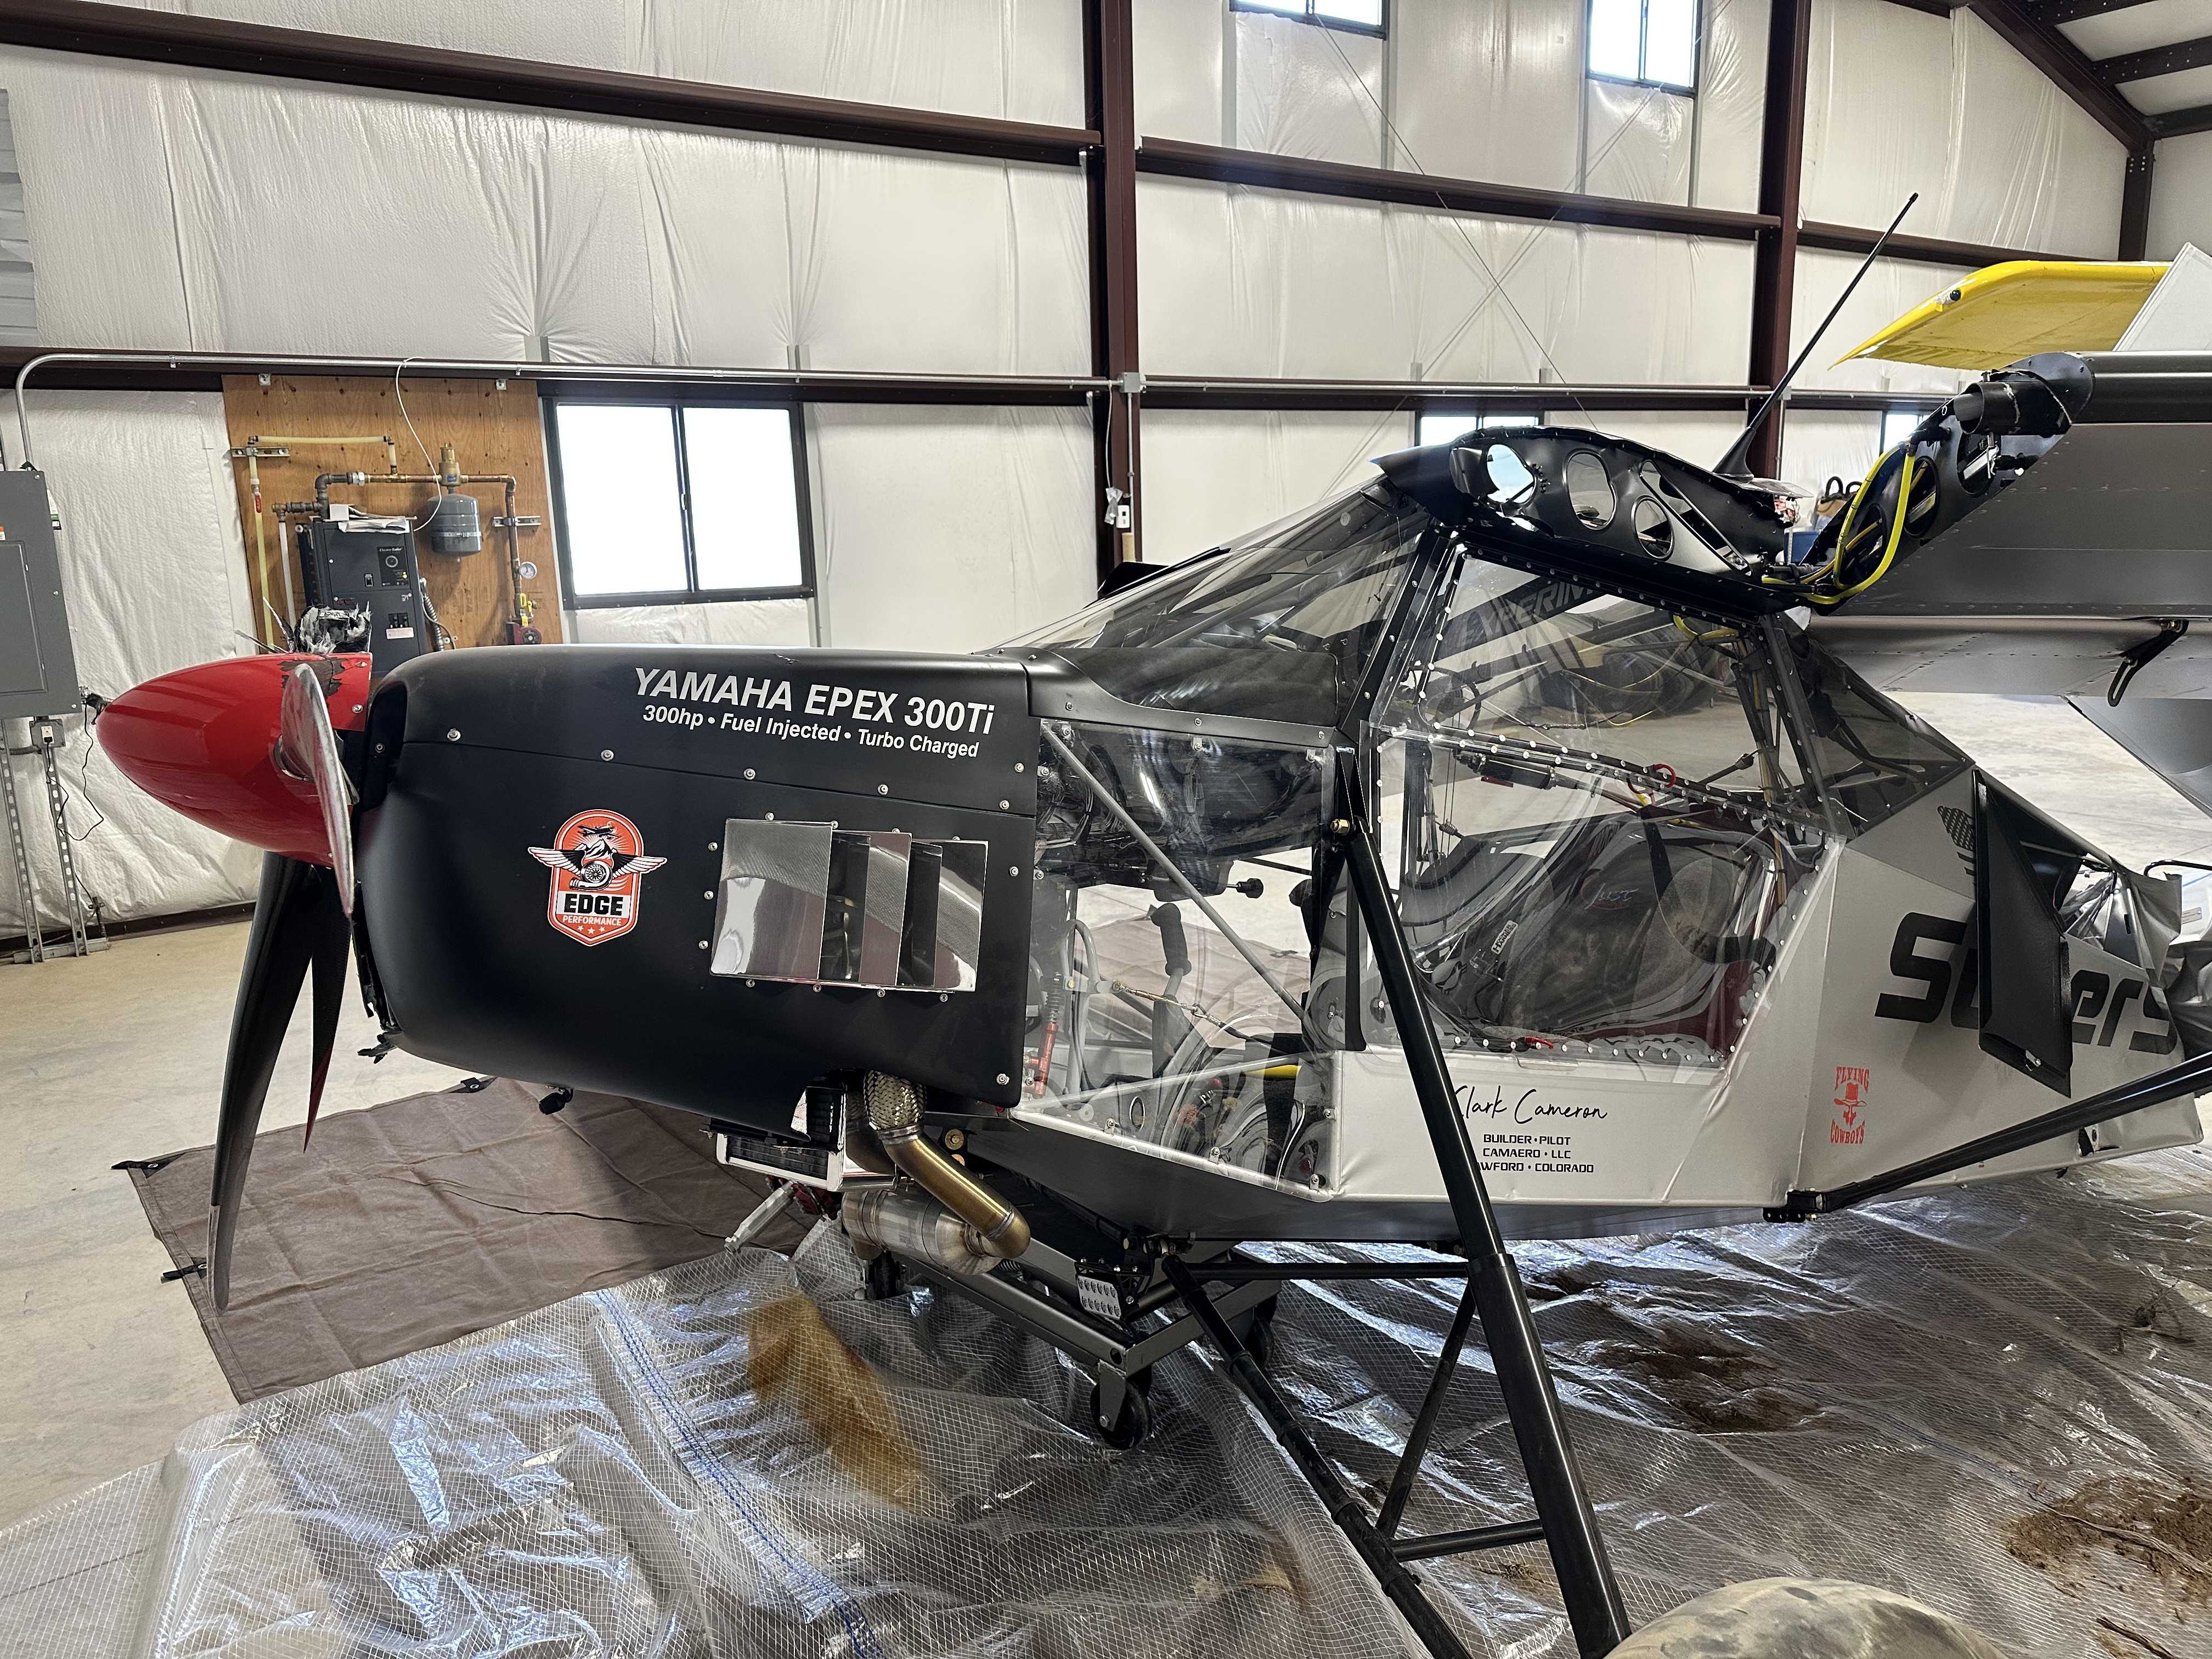
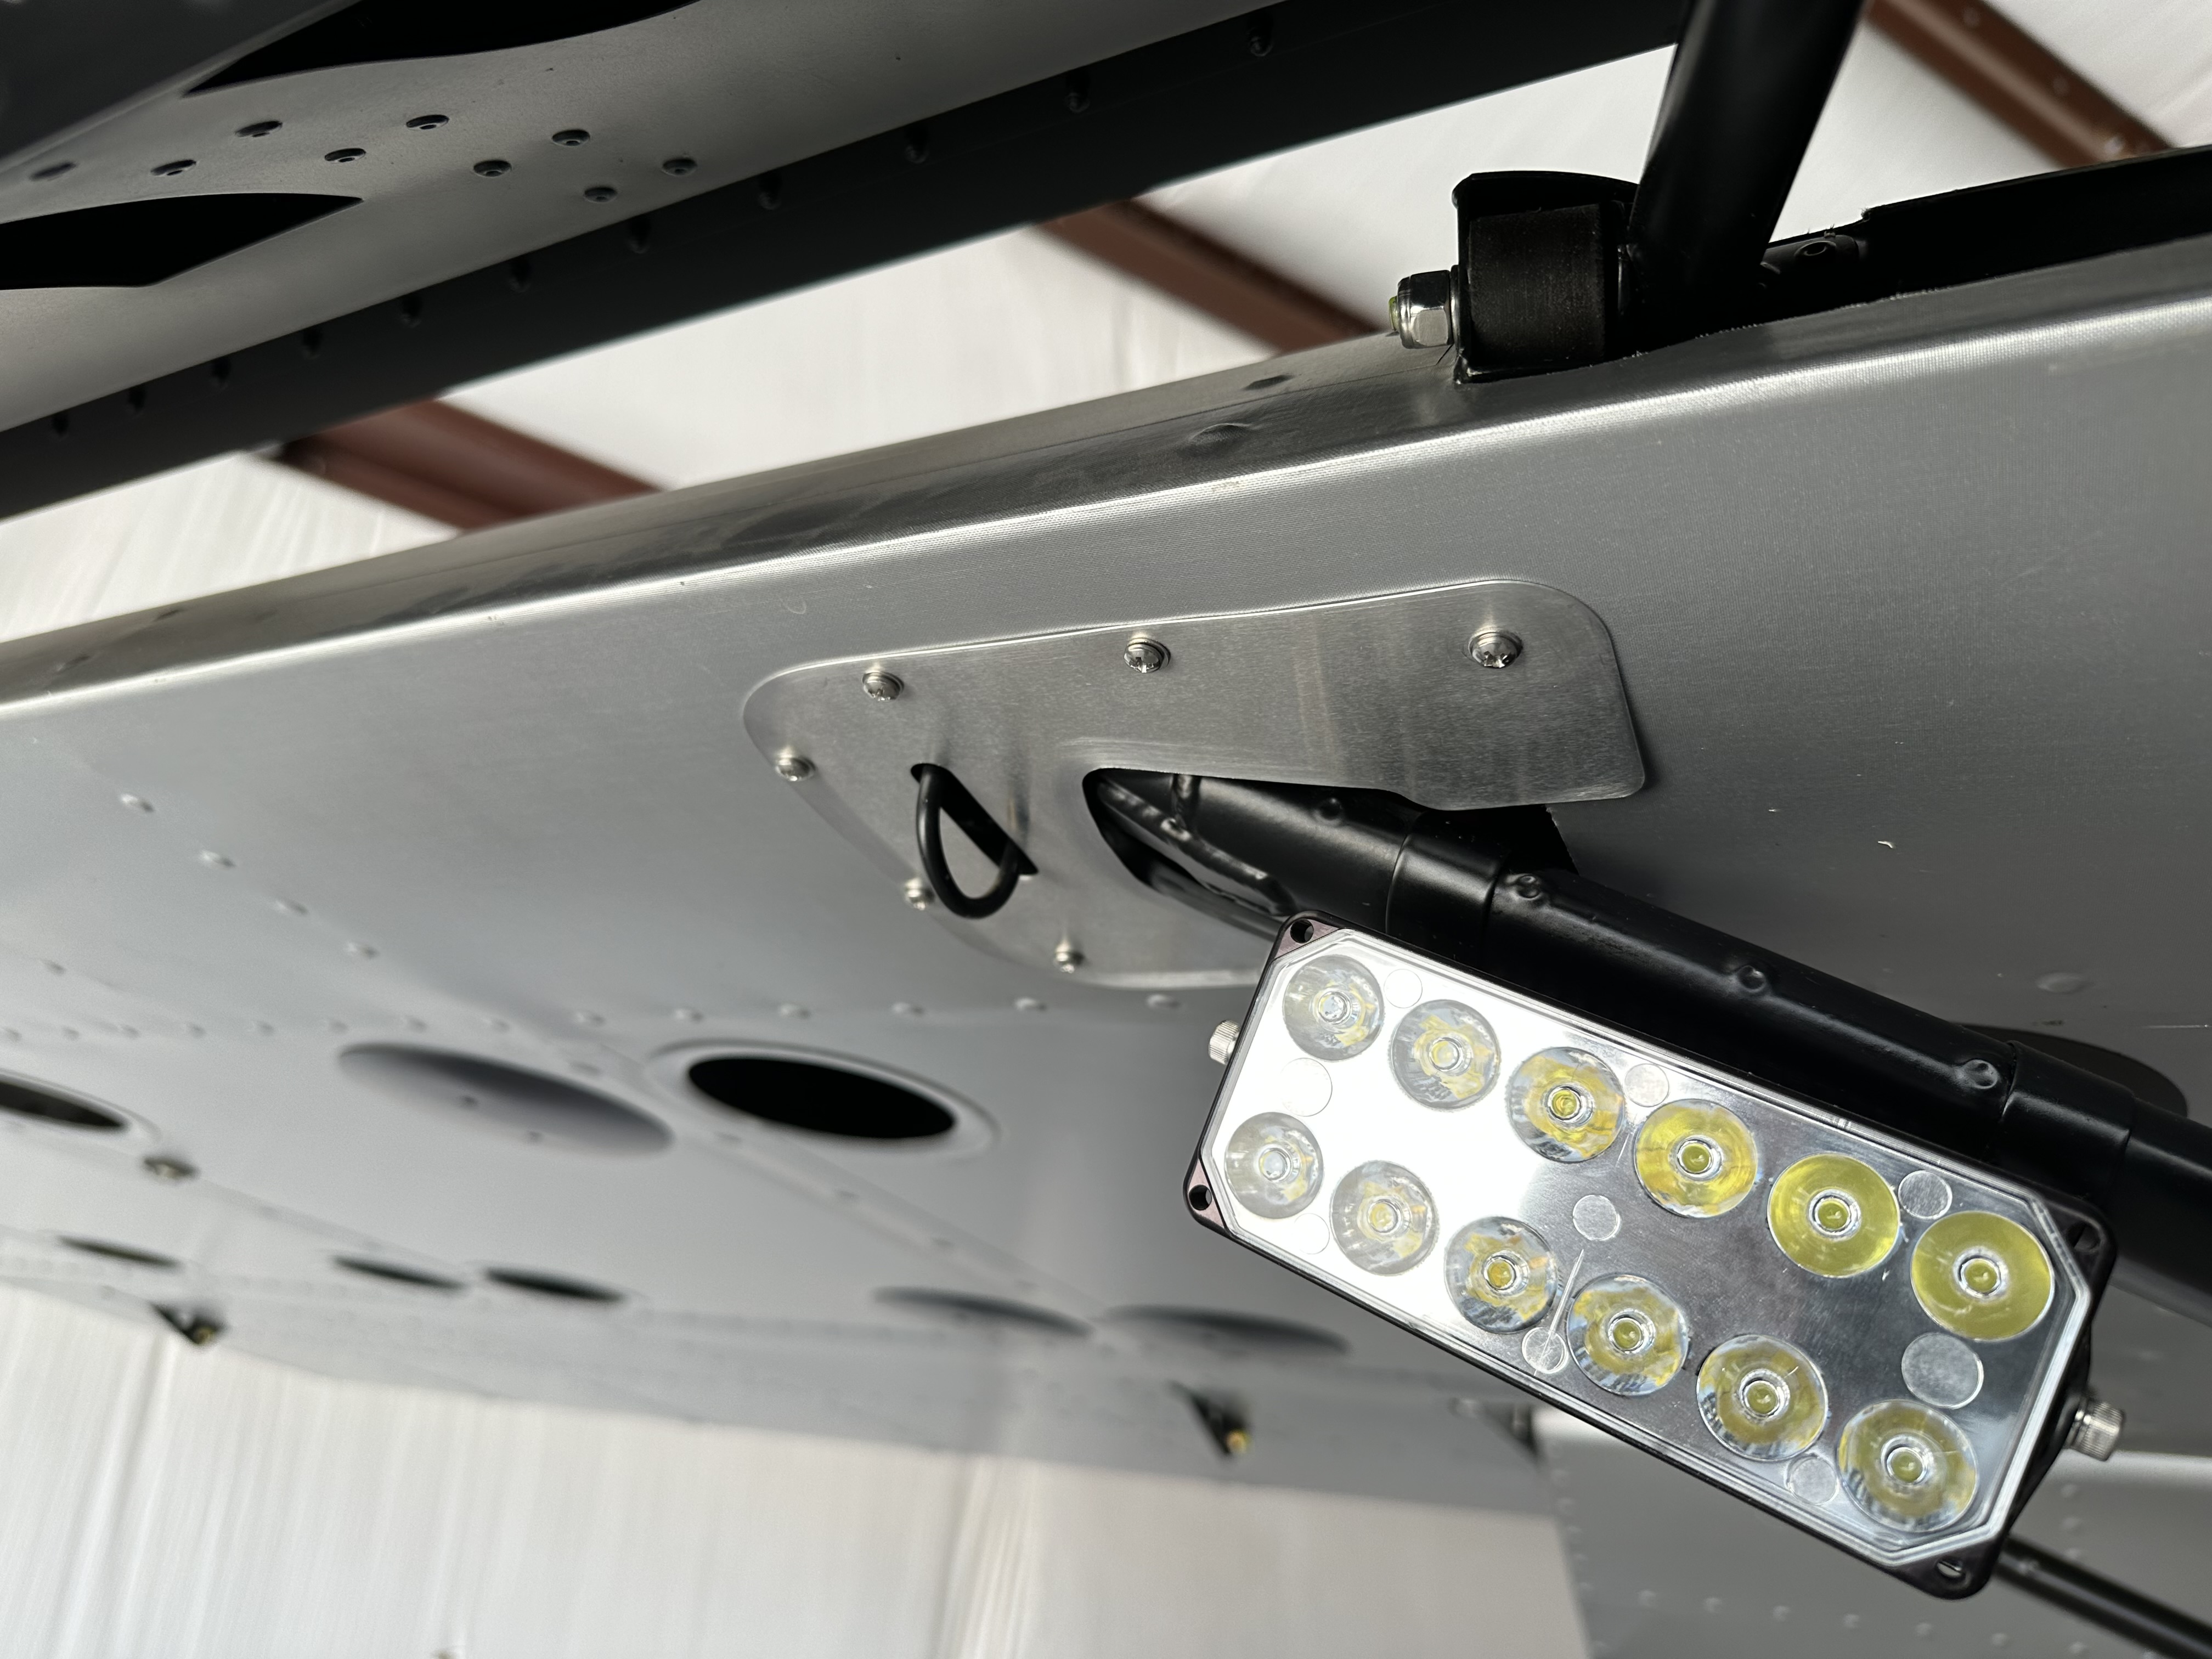
Now, the hard part is what to do with the wreckage? Fortunately, the panel and all the electronics are good. The switches, landing, taxi, position/strobe lights, all still work, no damage. There are a ton of other parts, fittings, hardware, seats, brackets, covers, mounts, flap handle assembly, header tanks, wings tanks, fuel fittings, electrical parts, a ton of nuts/bolts/washers, etc., etc., etc. Additionally, the Alaska Bush Wheels (Tires), Beringer Wheels, Brakes pedal assembly, one gear/shock combo and cowling, complete tail wheel assembly are all good. Almost everything firewall forward is good as well. At this point, after speaking with several experts in the know, I believe the engine is fine but have to do some diagnostics to be sure. The gearbox took the hit as it's designed to do and will need to be rebuilt, but that's easy.
So, long story short, there is a lot of stuff that is readily transferable to either a new kit, somebody else's kit, or for sale as bulk salvage, or to be parted out. I don't have the time to part it all out, even though that would probably yield the most money over time. It would take a long time.Besides, a couple of months before the accident, my wife and I decided to move back to Arizona, we're putting the farm on the market in a few weeks and we're busy getting ready for that. So, I've got enough on my plate without having to deal with parting out the aircraft. Another option is to purchase an enclosed trailer, pack it all in it for safety/weather resistance and deal with it after the move? Not sure. Please pass along any other ideas.
Now for the cautionary part. The day of the accident I was wearing new pair of shoes, not normally an extraordinary event however, this time it was. Although it seems harmless enough, the shoes had a much thicker sole than I was used to. As such, that extra thickness both in the sole and heel contributed to my riding the left brake without realizing it until it was too late. How can that be? Well, the SuperSTOL/Highlander has rather smallish foot pedals with toe brakes. It doesn't take much to engage the brakes, especially with big feet/shoes.
During my transition training, I actually had a similar experience on takeoff (with smaller shoes), riding the left brake. My instructor caught it, I corrected, and we took off without incident. After that, we added a checklist item for me to make sure my feet were solidly on the floor before applying power for takeoff. Seems that big feet and small pedals are a recipe for problems. Add in extra thick soles and heels and it gets dangerous. So, the lesson is to not deviate from what you normally do and if you do, be sure to evaluate your ability to safely manipulate the controls before attempting to fly. Most would say this is common sense, but it's worth re-stating.
In the end, I am extremely fortunate to have walked away without a scratch and count my blessings everyday. As friends have said, as long as you're okay, planes can be rebuilt. I will forever replay what happened in my mind searching for answers and wishing for a different outcome that will never happen.
Thanks for following along on this journey, I will try to post whatever I decide to do with the SuperSTOL. This build blog may not be over! If you are interested in the wreckage, please contact me through this site.
Blue Skies!