Wednesday, January 13, 2021

Main Landing Gear

I set up the main landing gear today. First off was to determine whether the gear was parallel. I attached the gear legs to the mounts with the proper bolts and washers in place. I then used a metal yard stick braced against the brake flange on each gear leg to draw a line on the concrete. Once both lines were drawn, I measured the distance between the lines at the extents of each line. In effect, these two measurements tell me whether the axles are parallel or have a toe in or toe out. The first measurements told me the gear had a toe out situation. To correct this situation I needed to adjust the rod ends screwed into the gear legs at the mounts. After several adjustments I was able to equal out the measurements meaning the axles are parallel.

The next measurement is taken from the tail of the aircraft center line to the same point on each axle. This measurement tells whether the gear is square to the fuselage. Again, this is adjusted using the rod ends screwed into the gear legs. Eventually, I was able to get each of the measurements to be equal or as close as possible without better measuring equipment.

Tomorrow I'll tighten up all the bolts and mount the shocks.

Left gear leg.
Right gear leg.

Monday, January 11, 2021

Tail Gear, Rudder and Miscellaneous

Today was a big day. This morning I went over to help Paul put the wings on his Kitfox. He has some trimming to do for the wings to fold properly. After that, I came home to get back to work on mine.

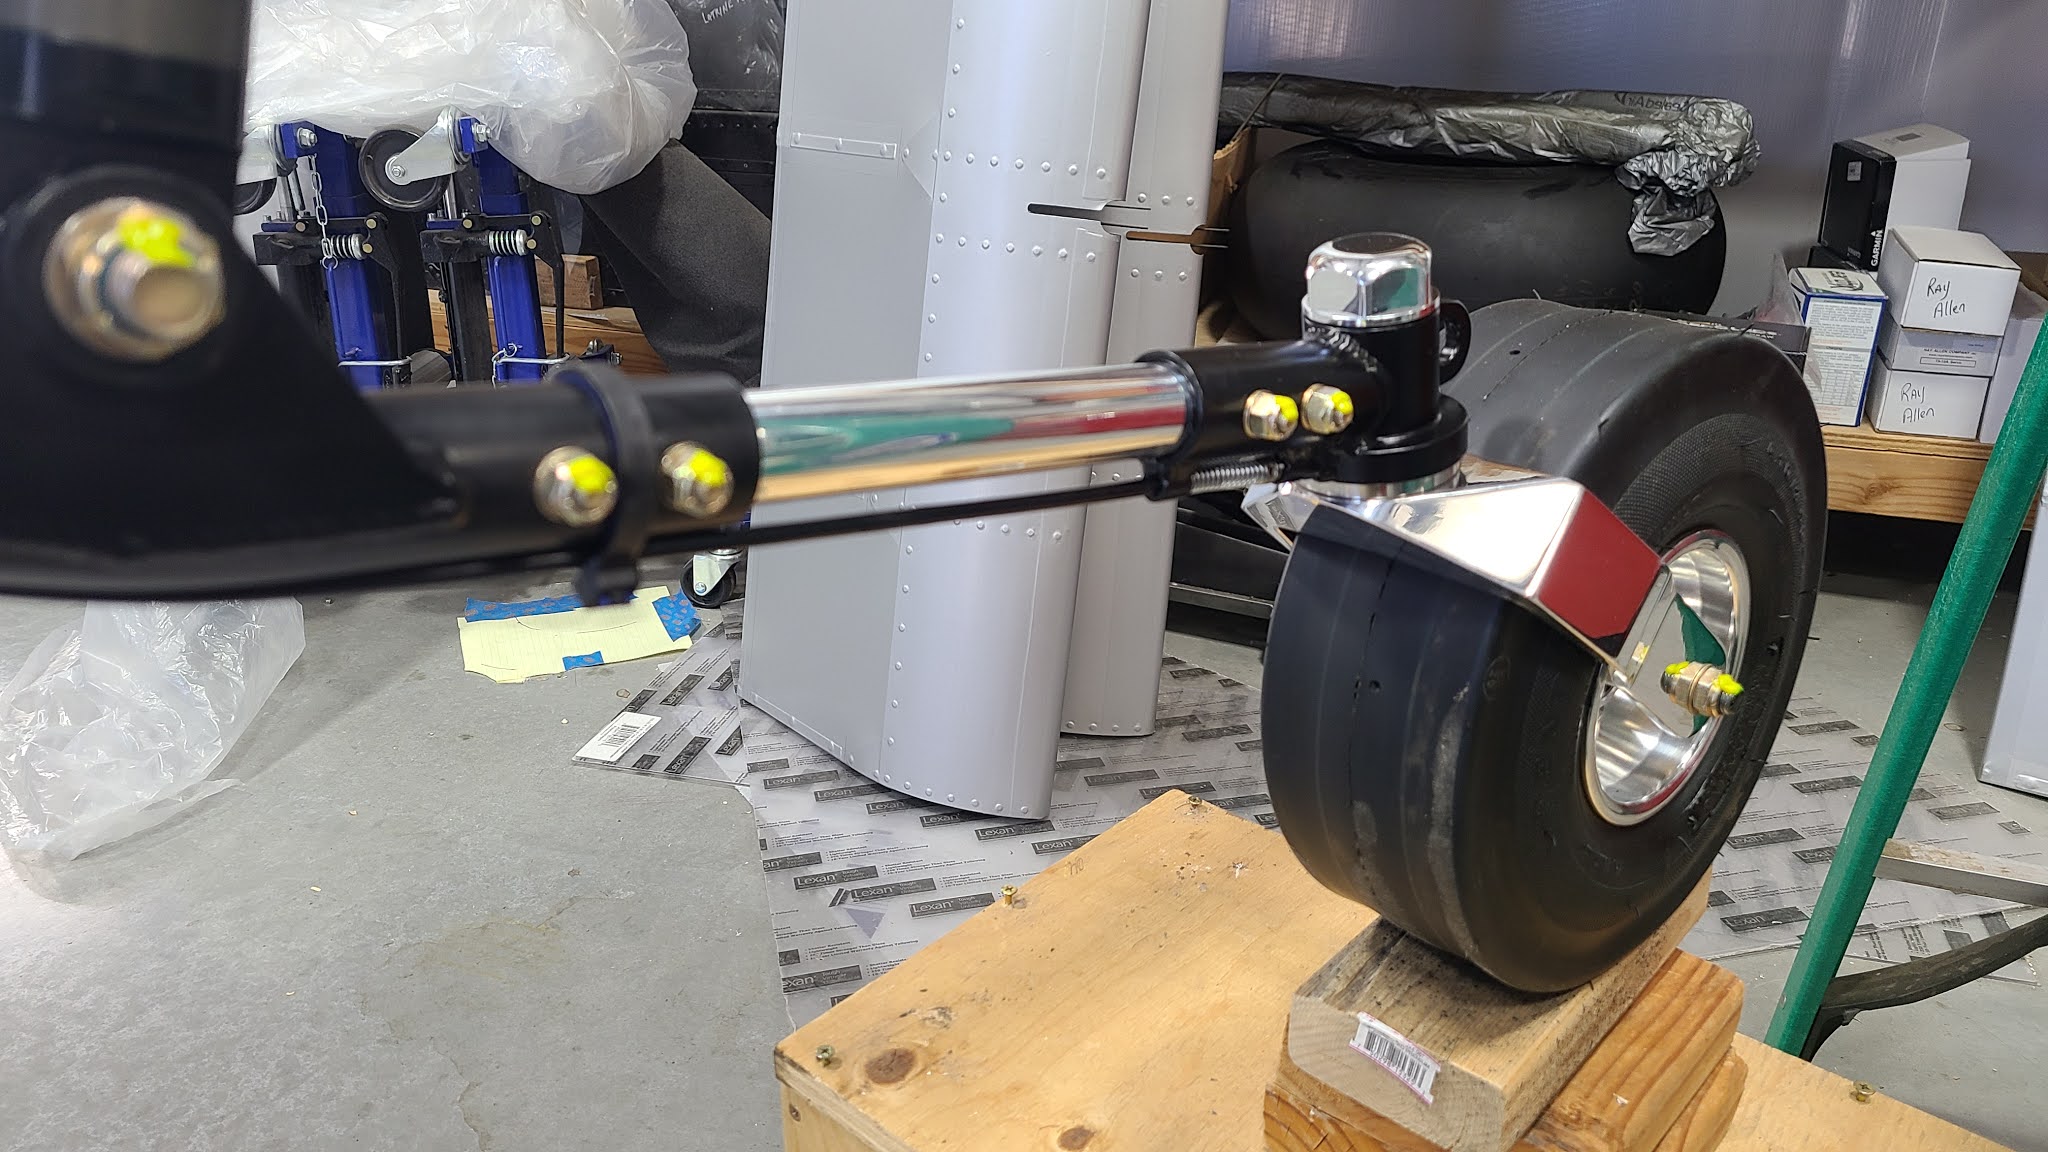
First off, I removed the rear fuselage rotisserie. I had to do this to mount the rudder and to be able to turn the tail wheel straight. I leveled the head rack by putting the tail wheel on a box with some extra wood to get the fuselage level in preparation for installing the "Star and Bars" on the tail. With an excuse to use my new laser level, I checked the alignment of the SuperSTOL decal on the side to see how close I was. When I installed it I just used a tape measure, turns out I was spot on. The laser will make installing the tail stripes much easier or, at least to get them level.

I painted the tail gear pivot bushing collars yesterday and installed the cotter pins today. 


I also installed the tail wheel lock cable, grip locked the cable, greased the pin and verified that it works correctly.

Then I installed the rudder. I have a couple of things that need to be done to be finished with it. I am rethinking the routing of the tail strobe wire. I had originally planned to route it through the inspection port for the elevator but after looking at it mounted, I'm thinking about a more direct route. I could cut a small hole in the tail to route the wire directly which would put it lower (under the horizontal stab) and out of the way of the elevator Jesus bolt area. I am also upgrading the rudder cable to 1/8"  and need to route it into the fuselage. This requires a couple of holes to be punched in the fabric.

Next up was to finish the shock mounts. Here are a couple of pics of the second pass of SuperFill from yesterday.


I debated about trying to sand the SuperFill to clean it up a bit but decided that I would probably mess it up and make it look worse, so I just left it as is. After painting, they look like excess weld material and really don't look bad. They are certainly far better being sealed up. Now I can mount the main landing gear tomorrow.

Lastly, I mounted the required passenger warning label on the panel.

Saturday, January 9, 2021

Slats & Main Landing Gear

I've taken several days off to catch up on my manual. Just trying to catch up on the paper work. Back to work on the plane today.

The last item needed to complete the slats is to set the trailing edge gap. Each slat has two square cutouts on the bottom side next to a rib. This allows access to drill three holes in the rib and set rivets which will set the gap on the trailing edge. The factory recommends the gap be set at 1/16th to 1/8th inch. Once I set the gap, I drilled the holes and set the rivets. The wings are now ready to be mounted.

Riveting the last of the 24 installed.
A pic of the three rivets installed in a slat rib.

The next task for today was to seal up the gaps around the main gear mounting bracket on the fuselage. I taped the area off and mixed up some SuperFill and applied it. It will take a couple of applications to be satisfactory. Once I'm happy with the fill, I'll sand it as best I can and paint it to match the surrounding area. Here are pics of the first pass of fill.

Left Side Front
Left Side Rear
Right Side Rear

Once I get this finished I can mount the main landing gear.

Saturday, January 2, 2021

Tail Gear

Happy New Year! Today, I mounted the tail gear back on the plane. I had previously mounted it so there weren't any surprises getting it re-mounted for the final time. To complete the install, I've got a little finish painting on the main pivot tube and I have to hook up the tail wheel locking push/pull cable.


Friday, January 1, 2021

Stol Speed Vortex Generators

I installed the VG's on the left wing today. Just a repeat of yesterday.


Thursday, December 31, 2020

Stol Speed Vortex Generators

I painted the Stol Speed VG's stain black to match everything else yesterday. Pretty straight forward, just put several coats on and let them dry overnight. I put three strips of blue tape sticky side up on the box and taped them down. Then stuck all 256 VG's to the tape for painting.

I spent the last day of the year installing the painted VG's on the right wing. I used the 60mm spacing template from the root of the wing out to the Aileron bay and then the 30mm spacing template to the wing tip.


Tuesday, December 29, 2020

Aerographics - Wing Details

I did the detail work on the Aerographics for the wings yesterday and today.

Yesterday, I did the detailed rivet work, evacuating the excess water and pushing the tape in around the rivet heads. I also cut out the spoiler slots.

Today, I had to finish off the corners of both fuel tank covers.

The next task was to cut and install patches where the stripes were cut at the fuel tank covers. As the stripes were one piece, when they were cut, it left a gap that could be seen. I wanted to cover that gap and wrap it into the tank bay. If you look closely at the pic you can see the seam of the patch just out side the rivets next to the tank bay in the black field.


Saturday, December 26, 2020

Aerographics - Left Wing Stripes

I managed to get all the left wing stripes on today. At least they're on, I'll need to finish them up tomorrow, I have all the detail work.


I also installed two more inspection rings on the bottom of the left wing that I needed to add. One of the rings will give me access to the Garmin Heated/Regulated box mounted in the wing. The other will give access to the Static and AOA air lines. I'll cut the fabric out tomorrow.